Have Questions?Contact Us
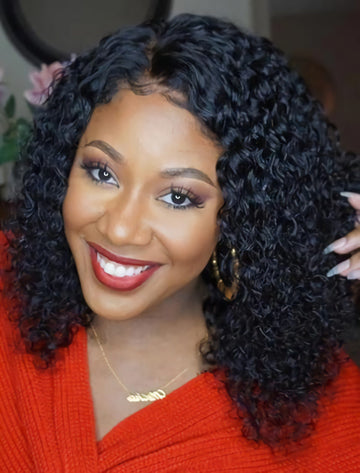
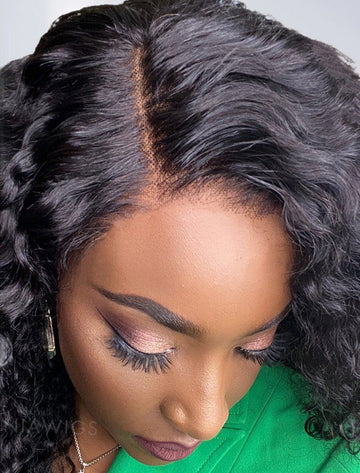
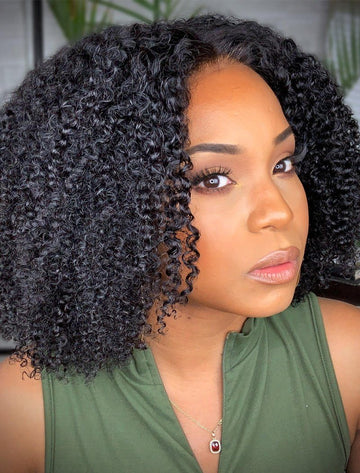
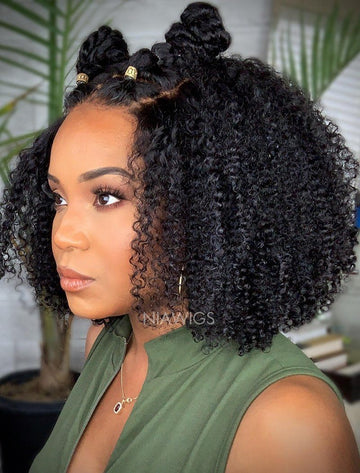
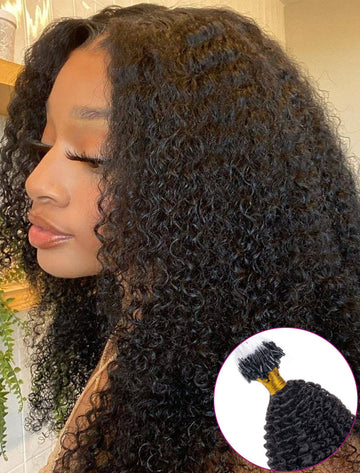
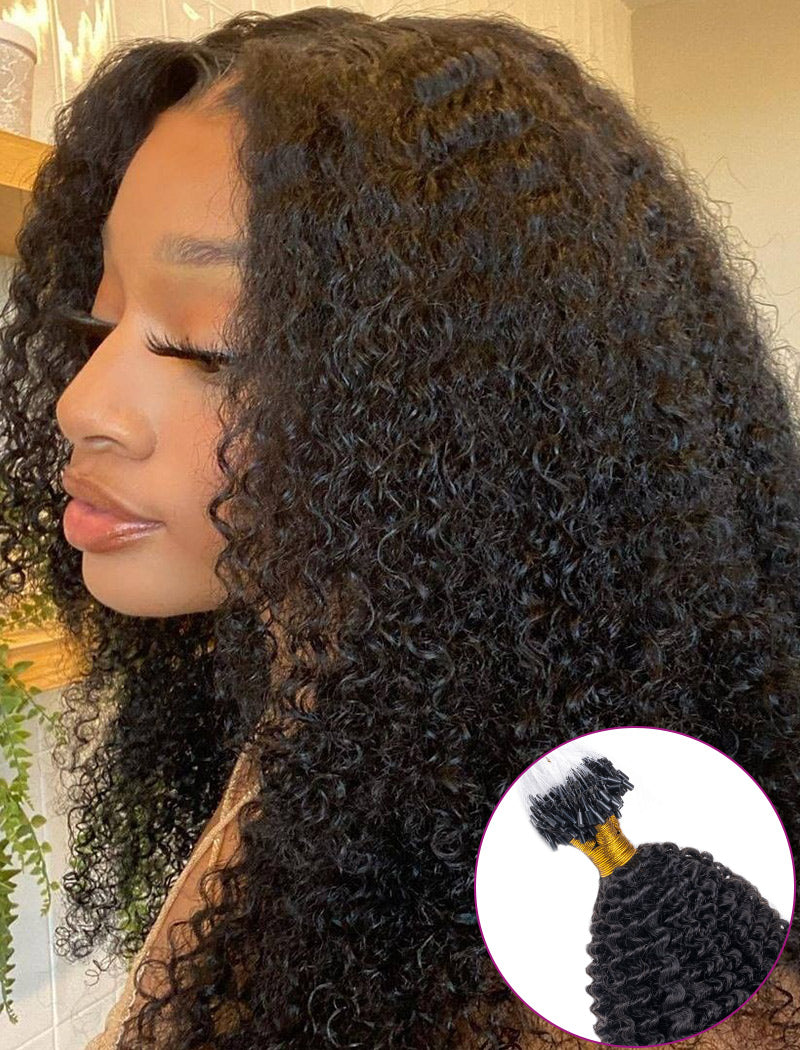
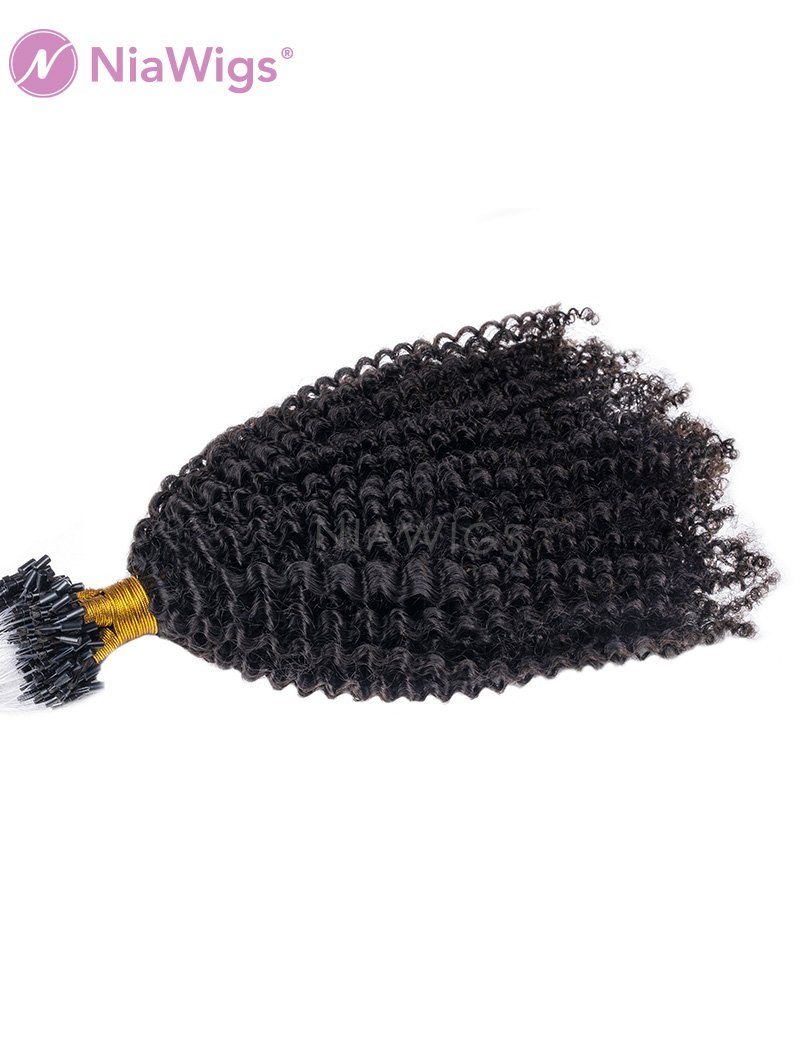
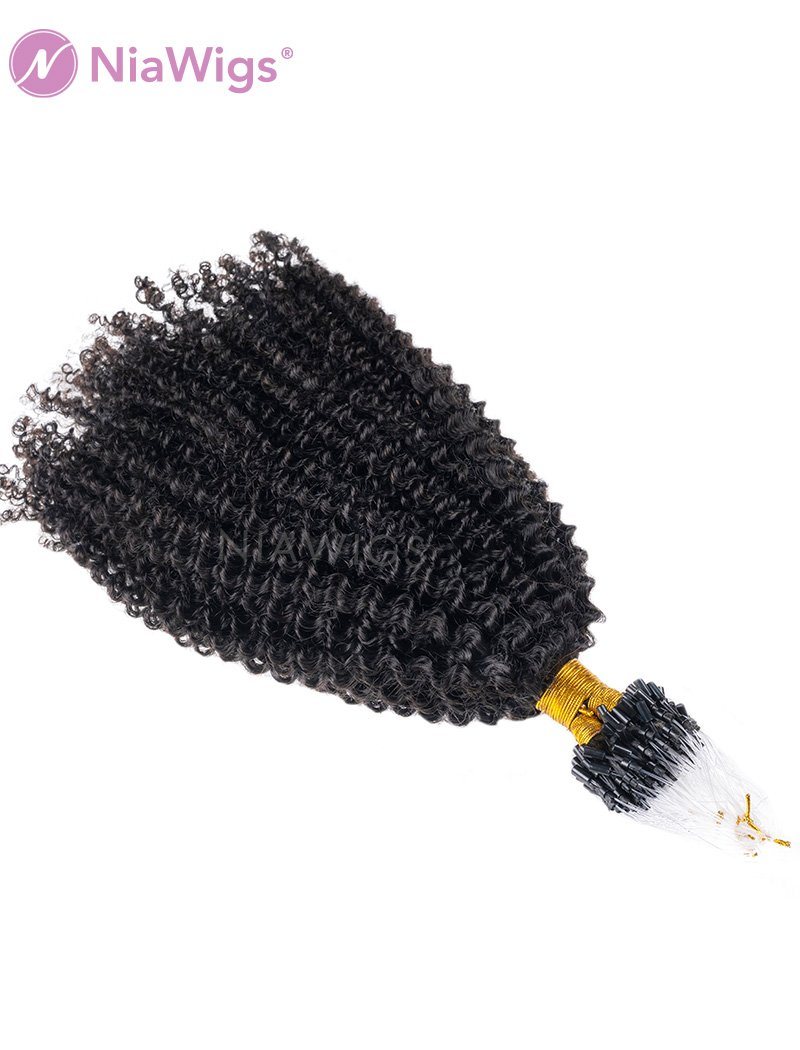
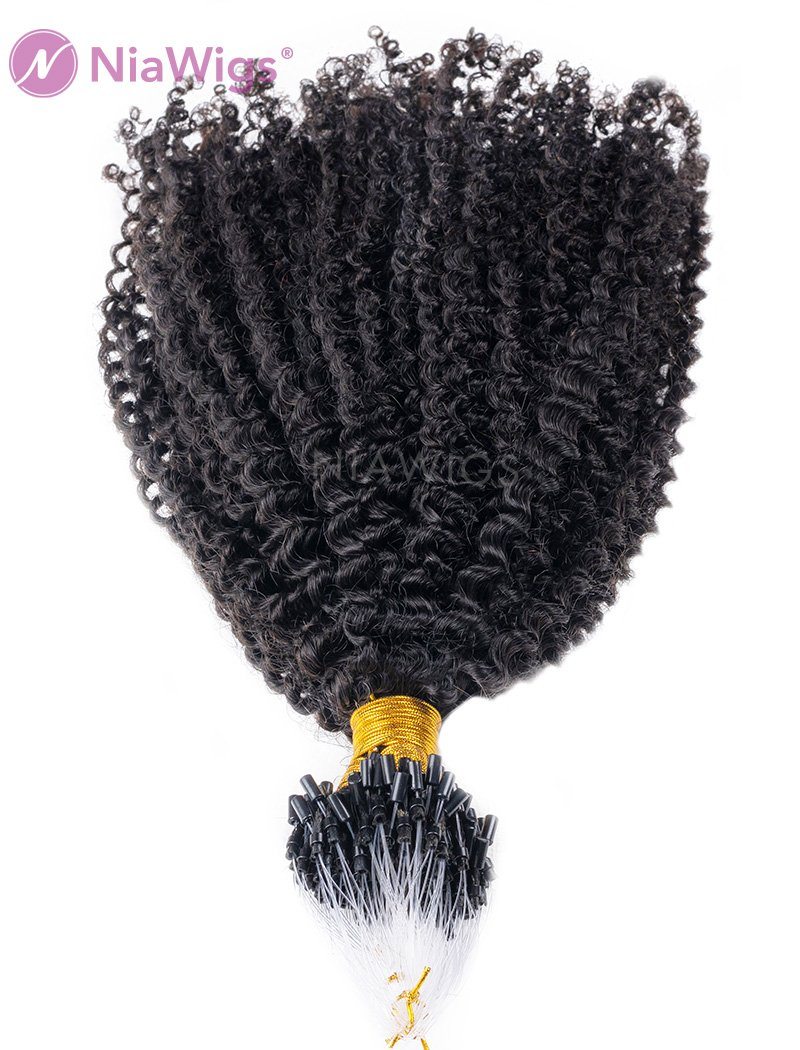
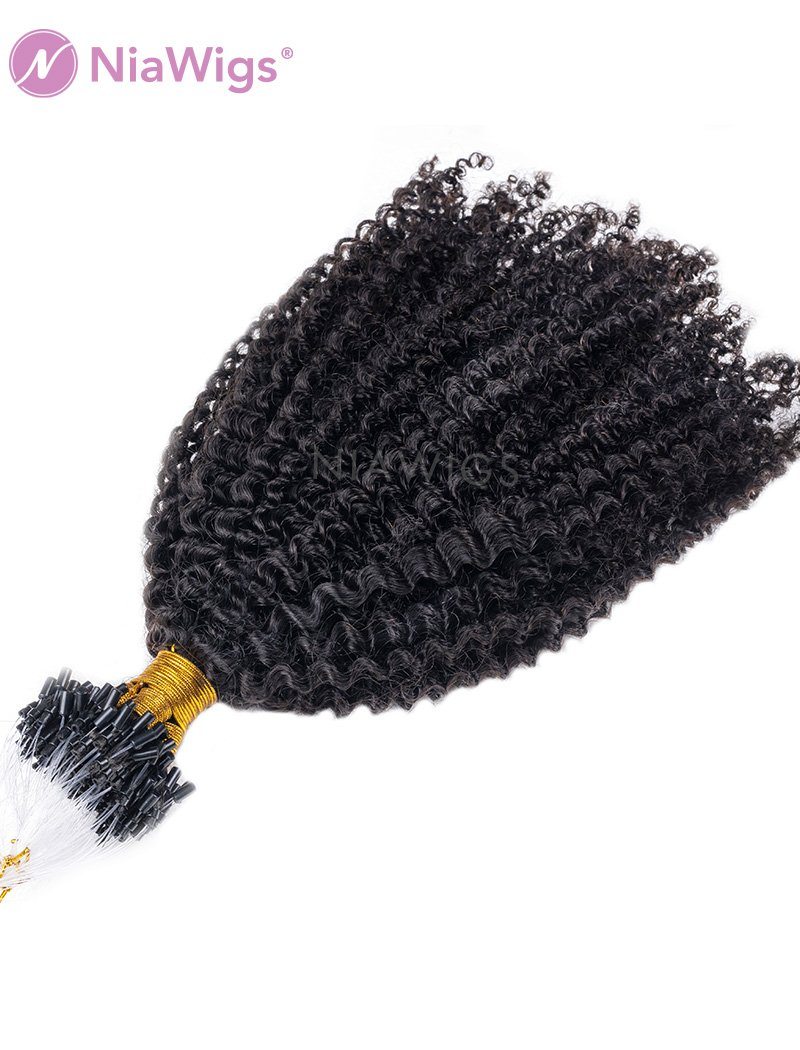
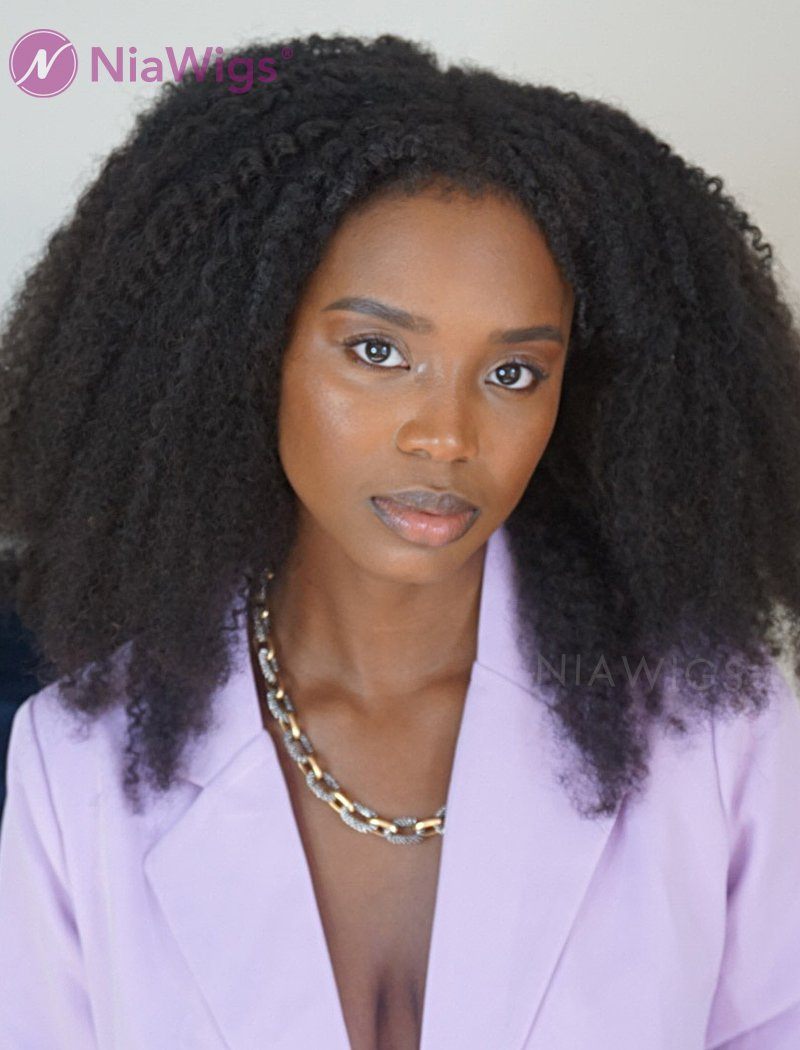
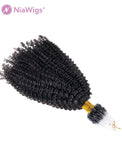
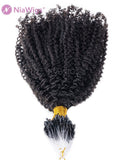
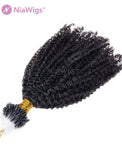
4B 4C Micro Loop Extension Afro Curly Microlinks Human Hair Extensions For Black Women
 Extra 10% OFF Code: NIA10

100% HUMAN HAIR
Top Notch Quality

FULL TOP & BOTTOM
Full Look

HIGH DENSITY
Volume & Glamour

CAN BE DYED
Only Natural Black Wigs
We are the professional manufacturer, all hair texture can be custom made: Straight, Yaki, Kinky Straight, Kinky Curl, Jerry Curl, Afro Curl, Loose Wave, Body Wave, Deep Wave, Water Wave, Wavy etc.
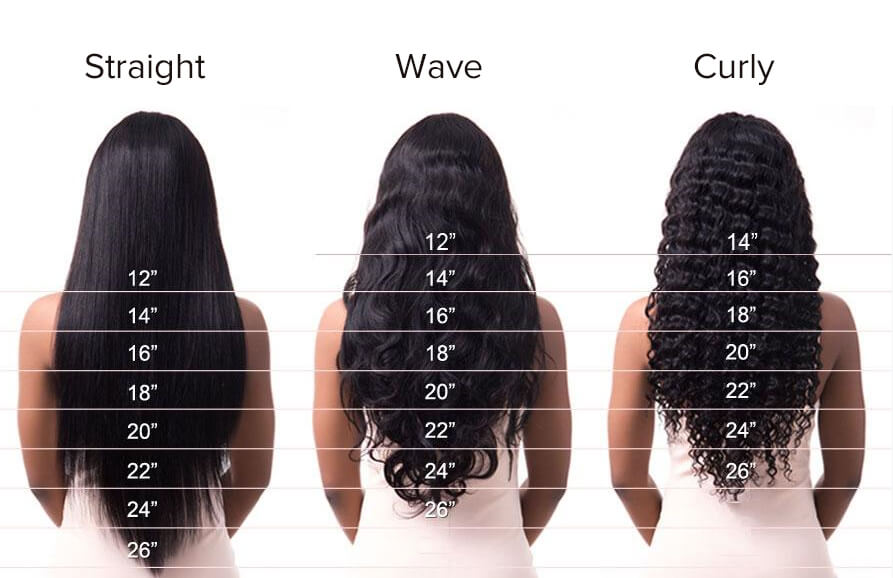
Picture Hair Length
Hair Material
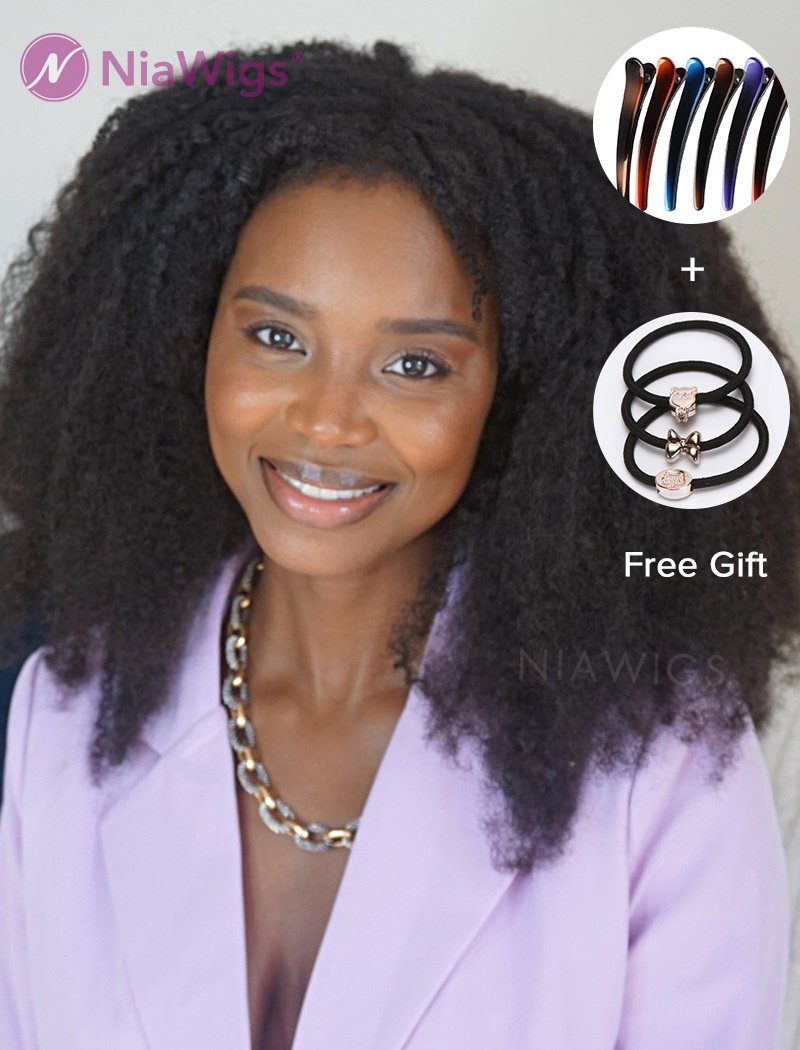
Her Natural Texture
Her Colour
18 Inches
(Brazilian Hair)
Afro Kinky Curly
Natural Black
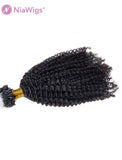
Pack:1g/strand, 100strands/pack. (Usually recommend 1-2 packs for adding volume, 3-4 packs for full head. Please pay attention that it may be a little thinner with the longer hair.) Usage:Flat iron, wash and dry, straightened and curled available.The hair can only be dyed to darker color. Before dyeing, please take a small portion of the hair for testing first.
WHAT ARE MICRO LOOP HAIR EXTENSIONS
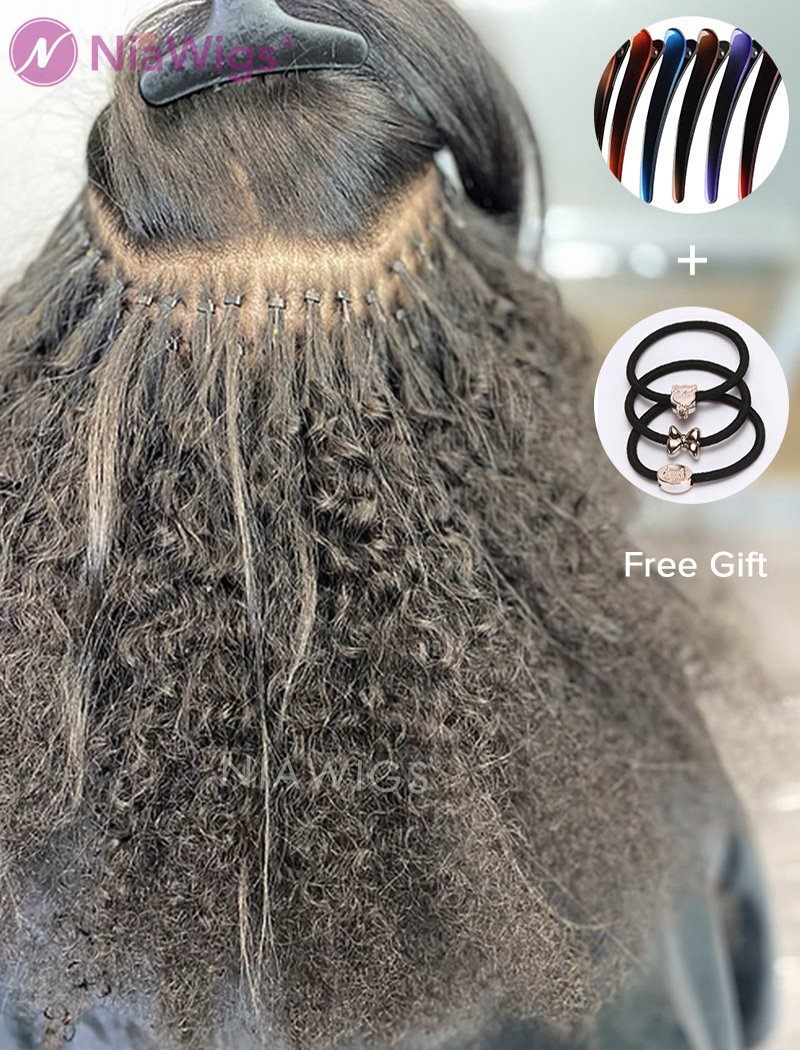
Micro Loop Hair Extensions come with a plastic tab to thread the hair.

Why They’re Convenient?
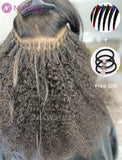
Micro Loop Hair Extensions offer a user-friendly way to attach human hair extensions. Using the plastic loop; the hair is pulled through a pre-attached copper ring.
Key Benefits:
- Add length to your natural hair instantly
- Add more volume of hair instantly
- Stay stably with your natural hair
- Create natural looking instantly
- Create highlight color,and the hair can be straightened,curled,and restyled as you like

HOW TO APPLY

1.Take a section of a few strands of hair. This should be half the volume to the same size volume of the hair extension.

2.Place the hair extension loop on the end of the micro ring pliers.Feed the strand of natural hair through the clear loop.

3.Pull the tab at the end of the loop so that the hair completely comes through the micro bead towards the scalp.

4.Make sure you leave a small gap of around 1cm from the scalp so it’s not too close to your skin.

5.Use the pliers to flatten the micro ring and ensure it is closed. Be careful not to press too hard as this can damage the hair.

6.Repeat the process across your head, one row at a time.
HOW TO REMOVE
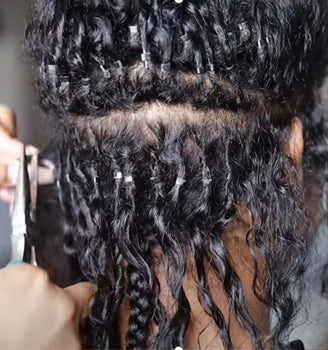
1.Section out the first row (remove the extensions row by row).
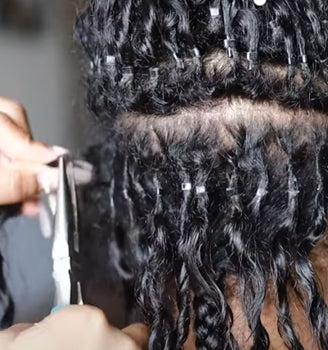
2.Use a plier to slowly squeeze in the opposite direction in which beads were flattened.
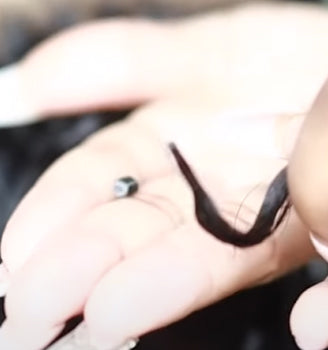
3.Slide out the extension from the bead and remove the bead.
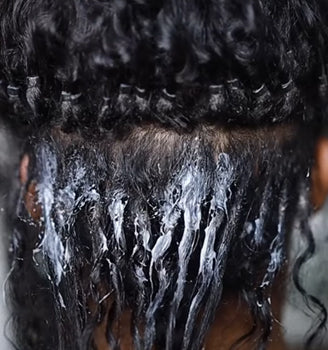
4.Spray hair with water and conditioner.
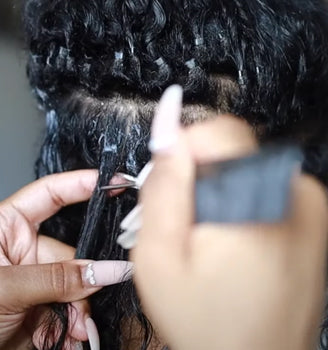
5.Gently use a rat tail comb to part the gunk and debris.
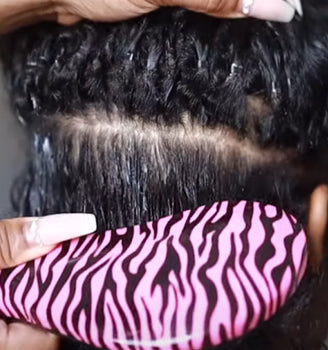
6.Finally comb through with a wide-tooth comb.
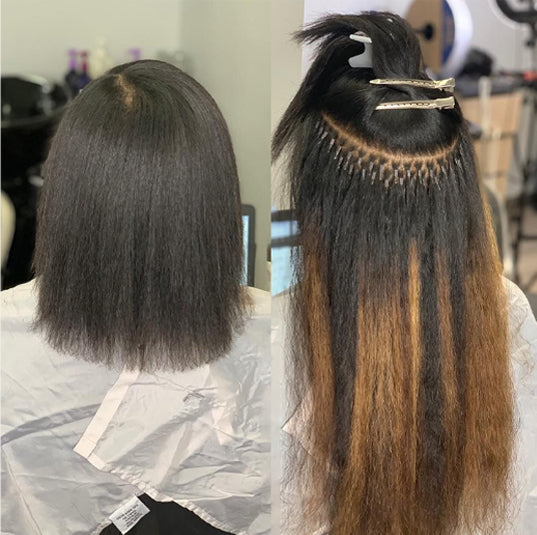
BEFORE & AFTER


Our goal is to offer you the best shipping options, no matter where you live. We deliver to hundreds of customers across the world every day, and we strive to provide you with services of the highest level.
The time frame of an order delivery is divided into two parts:
DELIVERY TIME
Delivery time = order processing time + transportation time
Please contact our customer service for express shipping. Please be noted that international shipping cannot be upgraded.
AUTOMATIC RETURNS
-
If the signature service is requested, there will be no extra shipping cost
-
If the signature request is waived or you have signature exemption agreement with FedEx, DHL or TNT, Niawigs will no longer be responsible for any lost or damage of the package.
-
All the international shipping orders and orders with high value products are signature requested.
-
All the automatic returns will incur a 15% restocking fee for the monetary refund.
FORCE MAJEURE DELAYS
Here at Niawigs, we make the utmost effort to get orders delivered on time as promised. However, we cannot provide shipping refunds in the case of national crises, holidays, natural disasters, carrier delays or other circumstances where the delay is beyond our control.
INTERNATIONAL SHIPPING TAX
If you're shipping to a country outside the U.S., your order may be subject to import duties and taxes, which are levied once your package reaches your country. Niawigs is NOT responsible for any duties and taxes. For more information regarding custom policies, please contact your country's local customs office.
MILITARY ADDRESS
Orders shipped to Hawaii, Alaska or any of the US Territories including Puerto Rico, Guam, Northern Mariana Island or APO and FPO military addresses will be shipped via USPS Regular Service only.
When it comes to human hair wigs, you want them to look their best. You already know you have to wash and take good care of them, but it can be confusing figuring out some of the nuances, like how often and what products to use.
To help you with your at-home wig care routine, we’ve outlined all the do’s and don’ts to make sure your wig looks its finest. From explaining how to wash your wig at home to revealing how to dry it, we’ve got you covered.
Should I Wash My Wig Before Wearing it?
Let’s start at the top. You just purchased a ready-to-wear wig, now what? Deciding if you want to wash it before wearing it is really a personal choice. It is important to keep in mind that every time you wash your wig, it shortens its lifespan. With that said, some women feel more comfortable putting on a freshly washed wig. Another option is to give it a quick rinse versus a full shampoo and condition.
How Often Should I Wash My Human Hair Wig?
Deciding how often you want to wash your wig is another personal choice. However, many women choose to wash their wigs once every one to two weeks. If the hair begins to feel sticky or dry, it may be time to give it a rinse.
The same goes if it begins to lose its curl or volume. Remember, washing your wig will limit its lifespan, so you don’t want to over wash it. If you wear a wig cap underneath and remove your wig before going to bed, you can help reduce the number of times you need to shampoo and condition it.
How to Wash a Human Hair Wig?
Now that you know how often to wash it, it’s time to figure out how to wash a human hair wig. You’ll find that your wig washing ritual can be done in just five easy steps.
Step 1: Pre-wash care
Begin by prepping your wig. You’ll want to use a wide-tooth comb or your fingers to gently comb through any tangles. It’s best to start from the bottom and work your way up toward the roots.
Step 2: Rinse
The next step involves getting your wig wet. Place your wig under the faucet and use cool to lukewarm water to fully submerge it. If you have a long-haired wig, place it under a shower faucet to prevent the locks from going down the drain. After rinsing, gently remove the excess water with your hands and get ready to shampoo. Go easy on it—do not twist to wring it out.
Step 3: Shampoo
Place a small amount of shampoo into your hands and stroke the hair from roots to ends, keeping the shampoo away from the scalp of the wig. It’s important not to be heavy-handed when it comes to shampooing—avoid scrubbing or rubbing the hair, as this could damage the strands.
For the best results, use a clarifying shampoo that is specially made for human hair wigs. These shampoos are gentle enough not to damage the hair and they are designed especially for your wig’s needs. Some women prefer to use mild shampoos for color-treated hair.
To remove the shampoo, run cool water from the base down to the bottom of the hair. Once you’ve gotten rid of the shampoo and the water runs clear, use a towel to gently blot the hair before applying conditioner. The wig can still be damp, but you don’t want it to be sopping wet.
Step 4: Condition
Now you’re ready to condition. Just like the shampoo, you’ll want to use a wig-approved hydrating conditioner. Work a small dab into the wig, starting at the bottom. Gently comb through the strands with your fingers, keeping the conditioner away from the base of the wig. You can let most conditioners set for one to five minutes, but follow the directions on the bottle. Once the time’s up, run cold water from the top of the wig down to the ends of the strands, making sure you get rid of all the conditioner before blotting it dry.
Step 5: Dry
You’ve washed and cleansed your wig, so now you just have to wait for it to dry. Use a towel to lightly blot it and then leave it on a wig stand to air dry. Avoid using a blow dryer and brushing the hair until the wig is completely dry. Once it’s no longer wet, you can style your wig as you normally would.
How to Prolong Your Wig’s Lifespan
wig installation
Your hair will look vibrant as ever now that you understand how to wash your wig at home, but there are some other ways to prolong its lifespan.
· Keep it on a wig stand when you’re not wearing it. This can help maintain its structure and keep it from getting tangled.
· Avoid hot water, saltwater, and chlorine to prevent any damage to the strands.
· Be mindful of what tools you use to style your wig. Depending on the style and texture, you may not want to use heated styling tools, such as curling irons or straighteners. When in doubt, go easy on your wig.
The more careful and gentler you are to human hair wigs, the longer it will last.

